Quick and Simple DIY Easter Bunting
Looking for a quick and simple way to make your own DIY Easter décor? Making felt bunting is the perfect easy Easter craft idea! With this simple step-by-step guide and the bunny and egg shapes included in our Easter Wand add-on sewing pattern, you can create a festive garland with minimal effort—no advanced sewing skills needed.
Even if you’re short on time, or not really sure where to start, this step-by-step guide will walk you through the process, making it an easy, beginner-friendly, and totally doable Easter sewing project. With simple instructions and creative tips, you’ll have a gorgeous felt Easter bunting that you’ll love displaying year after year!

What You’ll Need
- Felt sheets in a range of colours – we prefer wool-blend felt for it’s durability but you can use any type. 10 x 10cm (4 x 4”) piece per shape.
- Our Easter Add-on Pattern – for the bunny and egg shapes. Get yours HERE
- Ribbon or string - for hanging the bunting. We used 2m (6 ½ feet) of 3mm (1/8”) wide ribbon, but it will be easier to attach the felt shapes to the bunting if you use a slightly wider ribbon.
- Fabric scissors or rotary cutter.
- Fabric glue or sewing machine - for assembling.
- Pins or clips - to hold the felt pieces in place.
- Decorative elements - OPTIONAL – to use as embellishments (scraps of ribbon/fabric, fabric paint, embroidery thread/needle etc.)

Step 1: Prepare Your Shapes
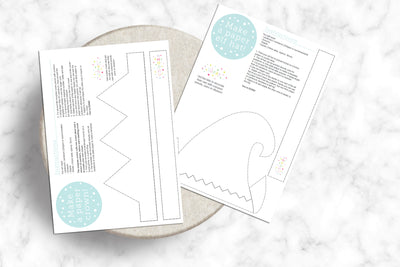
- Print & Cut – Download and print the Easter wand add-on pattern and cut out the bunny and/or egg shapes from the pattern.
- Trace Onto Felt – Place the shapes on the felt and pin/trace the designs with a fabric marker. We used 10 shapes: 8 bunnies and 2 eggs.
- Cut the Shapes – Carefully cut out a number of bunny and/or egg pieces in different colours to create the bunting.

Step 2: Add Embellishments to the felt shapes - OPTIONAL
- For a simple look – Keep the felt shapes plain for a minimalist style.
- For extra detail – Add ribbon/fabric scraps, embroidery stitches, fabric paint, or decorative machine stitching to personalize each piece. We used the letter templates found in our free personalised crown template and video tutorial you can get HERE.
- Layering option – Use two layers of felt per shape and stitch around the edges for a thicker, more durable design.

Step 3: Assemble Your Bunting
- Arrange Your Shapes – Lay out your cut felt pieces in the order you’d like them on the bunting.
- Pin/Clip to Ribbon – Fold your ribbon in half to mark the centre. Starting at the centre of your bunting pin/clip each shape to the ribbon. Make sure each shape is evenly spaced along the ribbon – we used 5cm (2”) between each shape.
- Attach Shapes to Ribbon: Either:
- Sew the shapes onto the ribbon with a straight stitch.
- Use fabric glue for a no-sew option, pressing firmly to secure.

Step 4: Finishing Off
- Trim any excess ribbon and tie small loops at the ends for easy hanging.
- Hang your Easter bunting across a mantel, wall, doorway, or along a party table.
- Store it carefully after Easter so you can use it again next year!

Creating your own Easter felt bunting is an easy Easter craft idea that will add a handmade touch to your celebrations. With this easy-to-follow guide, you can be proud of making this DIY Easter décor that brings joy to the season year after year
The bunny and egg shapes used in this tutorial are included in our Easter Add-on Felt Wand Sewing Pattern, along with more detailed instructions and pictures - available HERE.
I'd love to see your finished Easter bunting!
Share your creations in the comments, via email hello@schooza.com.au or tag me on Instagram @schooza.makes
Need more easy sewing projects?
- Download our free personalised felt crown template and video tutorial HERE
- Take a look at our range of fun, beginner-friendly dress-up sewing patterns HERE
Happy sewing! 🎉